Cut and Sew Manufacturing Explained: How Custom Garments Are Made
What cut and sew manufacturing means, how it works, and why it matters for clothing brands. The complete process from fabric to finished garment.

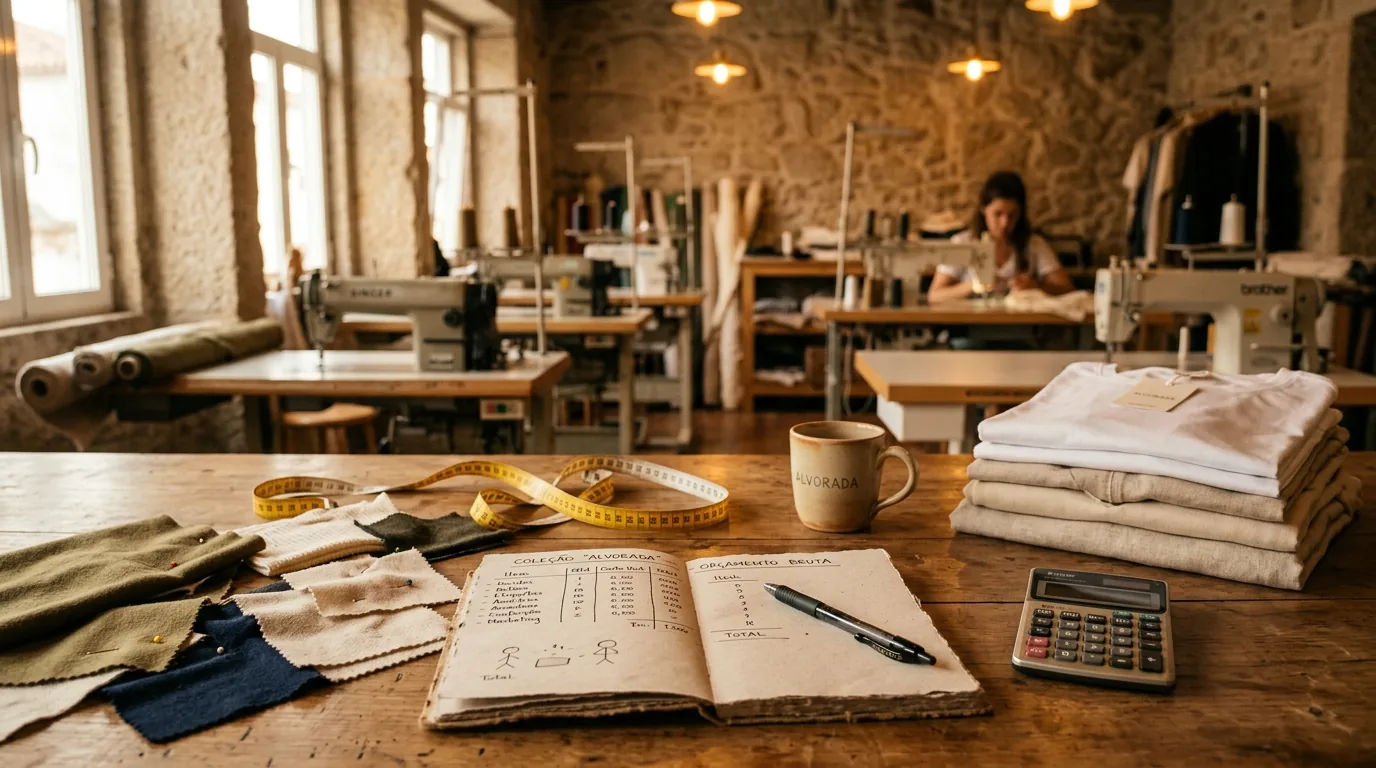
What Is Cut and Sew?
Cut and sew is the garment manufacturing method where fabric is cut from rolls into individual panels and sewn together to create a finished garment. It is the most common manufacturing process for custom clothing — and the method used for virtually every quality garment you own.
The term "cut and sew" distinguishes custom manufacturing from other production models:
- —Cut and sew — Fabric is cut and sewn into garments from scratch, to your exact specifications
- —White label / blank — Pre-made garments are customised with your labels and decoration
- —Print-on-demand — Pre-made garments are decorated one at a time, on demand
Cut and sew gives you complete control over every aspect of the garment: the fabric, the pattern, the construction, the fit, the labels, the finishing. This is how brands create products that are genuinely their own.
The Cut and Sew Process: Step by Step
Step 1: Pattern Making
Every garment begins with a pattern — a set of flat templates that, when cut from fabric and assembled, create the three-dimensional shape of the garment.
Pattern making is both technical and creative:
- —Base pattern — Created from measurements, either from scratch or by modifying an existing block
- —Style modifications — Adjusting the base pattern for the specific design (lengthening, widening, adding seam lines, adjusting armholes)
- —Seam allowances — Adding the extra fabric needed for sewing (typically 1–1.5cm)
- —Notches and markings — Indicators that help the sewing team align panels correctly
A skilled pattern maker translates your design sketch or tech pack into a set of flat pieces that, when assembled, create the garment you envisioned. This is arguably the most important skill in garment manufacturing — a bad pattern produces a bad garment, regardless of how good the fabric and sewing are.
Step 2: Grading
Grading is the process of scaling the base pattern up and down to create the full size range (S, M, L, XL, XXL, etc.).
Grading is not simply enlarging the pattern proportionally. Different measurements scale at different rates:
- —Chest width might increase by 5cm between sizes
- —Sleeve length might increase by 1.5cm
- —Shoulder width might increase by 2cm
- —Body length might increase by 2cm
These grade rules vary by brand, by target market, and by garment type. Getting the grading right means the garment fits well in every size — not just the sample size. For bottoms, grading is particularly challenging (read our jogger manufacturing guide for more on this).
Step 3: Marker Making
A marker (or cutting layout) is a plan for arranging all the pattern pieces on the fabric to minimise waste.
Think of it as a jigsaw puzzle: the more efficiently the pieces are arranged, the less fabric is wasted. A good marker achieves 80–85% fabric utilisation. A poor marker might waste 25–30% of the fabric.
Marker making must account for:
- —Fabric direction — Knitted fabrics have a grain direction. All pieces must be cut in the same direction to prevent the garment from twisting after washing
- —Pattern matching — Striped or printed fabrics require pieces to be aligned so the pattern matches at seams
- —Size mixing — Combining multiple sizes in one marker can improve utilisation (a small sleeve might fit into the gap between two large body panels)
Step 4: Fabric Spreading
The fabric roll is laid out on the cutting table in multiple layers. The number of layers depends on:
- —Order quantity (more pieces needed = more layers)
- —Fabric type (lightweight fabrics can be stacked higher than heavyweight)
- —Cutting method (manual cutting typically handles fewer layers than machine-assisted)
The marker is placed on top of the stacked fabric. Every layer must be smooth, tension-free, and aligned — a wrinkle in one layer produces a mis-cut piece.
Step 5: Cutting
The fabric is cut through all layers simultaneously, following the marker lines. Cutting methods include:
Ready to manufacture your collection?
Factory-direct from Barcelos, Portugal. MOQ 50 units per style, colour and size.
Request a QuoteNo commitment · No obligation
- —Manual cutting — Using an electric rotary knife or straight knife. The operator guides the blade along the pattern lines. Common for smaller production runs and detailed work
- —Band knife — For cutting around tight curves and small pieces. The fabric bundle is moved against a stationary vertical blade
- —Automated cutting — Computer-controlled cutting machines that follow digital patterns. More precise and consistent, but higher setup cost. Used for larger production runs
At White Cotton, we use manual cutting for most of our production. Our operators have years of experience cutting jersey and fleece fabrics, and the hands-on approach gives us control over fabric handling that automated systems can miss with knitted fabrics.
Step 6: Bundling
After cutting, the panels are sorted, stacked, and bundled by style, size, and colour. Each bundle contains all the pieces needed to assemble a group of garments.
Bundling is a logistics task — getting it wrong means the sewing team receives mismatched panels, causing delays and potential errors. In a well-organised factory, bundling is systematic: each bundle is tagged with style number, size, colour, and quantity.
Step 7: Sewing
Sewing is the core of garment manufacturing. Cut panels are assembled into finished garments by operators working on specialised industrial sewing machines.
A typical sewing line is organised as an assembly line — each operator performs one or two specific operations, then passes the garment to the next station.
For a basic t-shirt, the sewing sequence might be:
- 1.Join shoulder seams
- 2.Attach neck binding/collar
- 3.Set sleeves
- 4.Close side seams and underarm in one pass
- 5.Hem body
- 6.Hem sleeves
- 7.Insert main label
- 8.Insert care label
For a hoodie, the sequence is longer:
- 1.Construct hood (two panels + lining if applicable)
- 2.Attach hood to body
- 3.Join shoulder seams
- 4.Set sleeves
- 5.Construct kangaroo pocket
- 6.Attach pocket to body
- 7.Close side seams
- 8.Attach ribbed cuffs
- 9.Attach ribbed waistband
- 10.Insert drawcord
- 11.Insert labels
- 12.Final stitching and bartacks
The number of operations determines the sewing time per garment and, directly, the labour cost.
Machine types used:
- —Overlock (serger) — Trims and finishes raw edges simultaneously. Used for most seam construction
- —Coverstitch — Creates a flat, professional hem finish. Used for body and sleeve hems
- —Single-needle lockstitch — For topstitching, label insertion, and precise detail work
- —Bartack — Creates reinforcement stitches at stress points (pocket corners, belt loops, drawcord exits)
Step 8: Finishing
After sewing, each garment goes through finishing:
- —Thread trimming — All loose threads are cut and removed
- —Pressing/steaming — The garment is steamed or pressed to remove wrinkles and set the shape
- —Stain removal — Any marks from handling or machine oil are cleaned
- —Wash treatments — If specified: enzyme wash, stone wash, garment dyeing, silicone wash
Step 9: Quality Control
Every garment is individually inspected. At White Cotton, our QC checks include:
- —Measurements — Key dimensions are measured against the approved spec sheet
- —Stitching — Every seam is visually inspected for consistency, missed stitches, and loose threads
- —Fabric — Checked for defects, stains, and colour consistency
- —Decoration — Print quality, embroidery alignment, label placement
- —Overall appearance — Does the garment match the approved sample?
For more on quality processes, read our quality control guide.
Step 10: Packing
Finished, inspected garments are:
- —Folded to specification (brand-specific folding is available)
- —Placed in individual polybags (with size sticker)
- —Hang tags attached (if applicable)
- —Packed into cartons by style, colour, and size
- —Packing list prepared with full breakdown
Cut and Sew vs Other Models
| Factor | Cut and Sew | White Label | Print-on-Demand |
|---|---|---|---|
| Customisation | Full control | Labels and decoration only | Decoration only |
| MOQ | 50–500+ | 50–200 | 1 piece |
| Unit cost | Mid-high | Mid | High |
| Lead time | 3–5 weeks | 2–3 weeks | Per-order |
| Brand differentiation | Maximum | Moderate | Minimal |
For brands seeking maximum control over their product, cut and sew is the only option. For brands wanting a faster, lower-risk start, white label may be the better first step.
What Cut and Sew Costs
The cost of a cut-and-sew garment depends on:
- —Fabric — The single largest cost component (30–50% of total)
- —Labour — Determined by the number of sewing operations and the factory's labour rate
- —Decoration — Embroidery, printing, or other decoration methods
- —Trims — Labels, hang tags, zips, buttons, drawcords
- —Finishing — Wash treatments, pressing, special finishes
For detailed pricing, read our production costs breakdown.
At White Cotton
We are a cut-and-sew factory. Everything we produce — hoodies, sweatshirts, t-shirts, shirts, jackets, joggers — is cut from rolls of fabric and assembled by our sewing team in Barcelos, Portugal.
Our operation is vertically integrated: cutting, sewing, finishing, decoration, quality control, and packing all happen under our roof. No outsourcing, no middlemen.
If you have a garment concept and want it produced to your exact specifications, start the conversation. We will guide you through the process — from tech pack to delivered goods.
Pedro Carreira
Founder of White Cotton, a textile manufacturer in Barcelos, Portugal. Producing custom clothing collections for brands across 15+ countries.
Continue Reading
How Much Does It Cost to Start a Clothing Brand in 2026? Real Numbers
![Hoodie Manufacturing Costs: Real Prices from a Portuguese Factory [2026]](/_next/image?url=%2Fimages%2Fgenerated%2Fblog%2Fhoodie-manufacturing-costs-breakdown.webp&w=1920&q=75)
Hoodie Manufacturing Costs: Real Prices from a Portuguese Factory [2026]
![How to Find a Clothing Manufacturer in Portugal: A Factory Owner's Honest Guide [2026]](/_next/image?url=%2Fimages%2Fgenerated%2Fblog%2Fhow-to-find-clothing-manufacturer-portugal.webp&w=1920&q=75)
How to Find a Clothing Manufacturer in Portugal: A Factory Owner's Honest Guide [2026]
![How to Vet a Clothing Manufacturer: The Due Diligence Checklist [2026]](/_next/image?url=%2Fimages%2Fgenerated%2Fblog%2Fhow-to-vet-clothing-manufacturer.webp&w=1920&q=75)
How to Vet a Clothing Manufacturer: The Due Diligence Checklist [2026]
![Portugal vs Bangladesh for Clothing Manufacturing: An Honest Comparison [2026]](/_next/image?url=%2Fimages%2Fgenerated%2Fblog%2Fportugal-vs-bangladesh-manufacturing.webp&w=1920&q=75)
Portugal vs Bangladesh for Clothing Manufacturing: An Honest Comparison [2026]
Start your collection today
Factory-direct from Barcelos, Portugal. MOQ 50 units. Get a free quote.
Request a Quote← Previous
Clothing Production Timeline: From Design to Delivery (Realistic)
Next →
Garment Certifications Explained: GOTS, OEKO-TEX, GRS & More
Ready to start manufacturing?
MOQ 50 pieces · Free quote · Factory-direct from Portugal